Your first mesh part
Start with one wall segment. You will make an editable part, change its actual dimensions, place copies, and inspect the recipe that builds it.
Choose a recipe
- Open Procedural Materials → Meshes.
- Choose New mesh, or New… → Browse recipes….
- Search for Wall segment. Select it and inspect its preview and published controls.
- Give it a clear project name, such as
Workshop wall, and choose Create mesh.
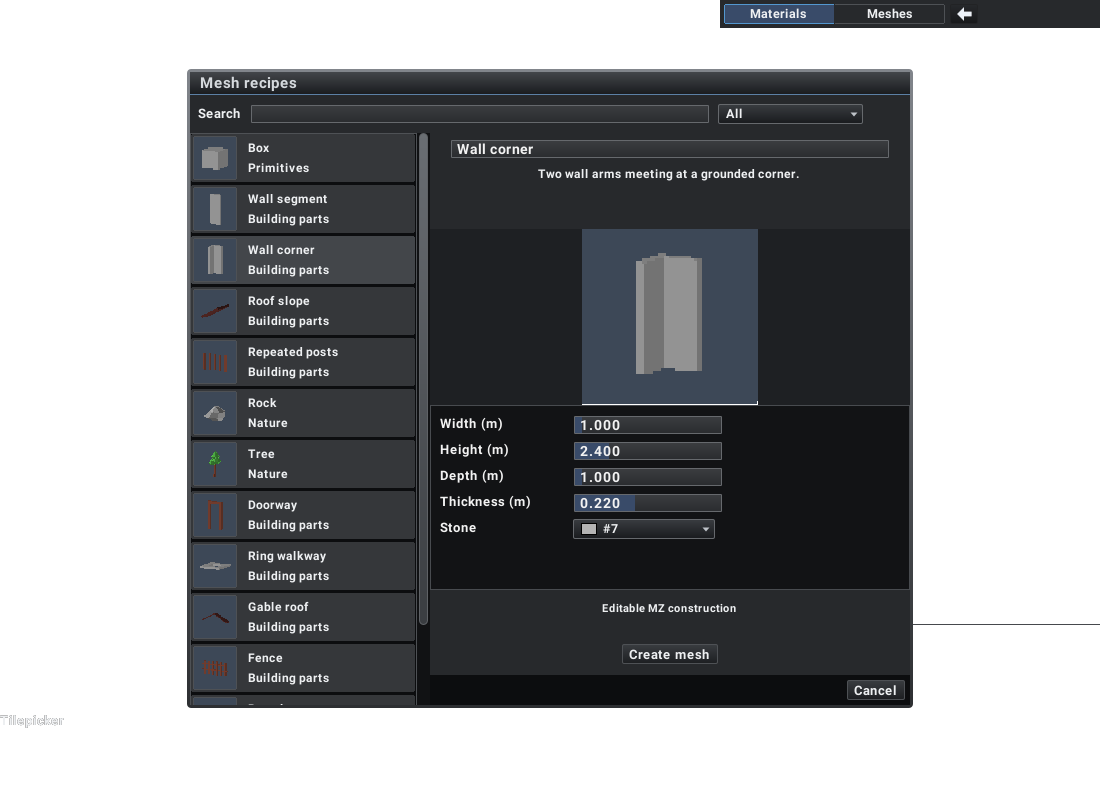
The browser creates an editable recipe. It does not turn the result into an opaque imported model.
The built-in library contains building parts, nature, props and primitives. Project lets you start from a copy of an existing project recipe. Copies have independent source; placing the same tile repeatedly shares one source.
Place before editing
Select the new mesh in the Tile Picker. The compact sidebar shows placement controls. Selecting a mesh prepares placement; Edit mesh opens the full editor when you want to change its recipe.
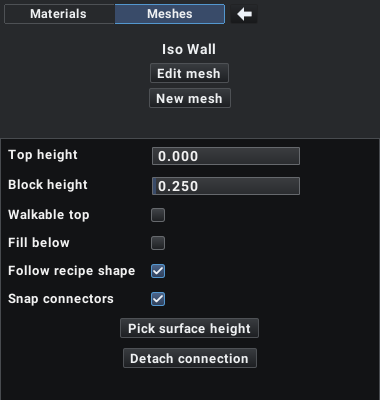
In 2D Iso, choose the Rect tool to place the part. Enable Follow recipe shape to derive its collision shape from the recipe. For walls, keep Walkable top off. Use Top height zero for a ground-level part on a flat building area. Use Rotate -90 / Rotate +90 in the Rect HUD, or , / ., to turn the placement preview in 90-degree steps. Previously placed parts keep their orientation. The same recipe supplies all four views.
Snap connectors joins compatible nearby parts. Leave it off while making a free-standing layout; turn it on for the room-building tutorial. Fill below is for stacked placement and is not needed for a wall segment.
Change the recipe's dimensions
- Click Edit mesh.
- Select the outer Group tile. Its published controls include width, height, thickness and material color.
- Change width from 1 to 2, then change thickness. These controls drive Box dimensions and grounding transforms inside the recipe.
- Choose Back to map and inspect every placement using the same tile.
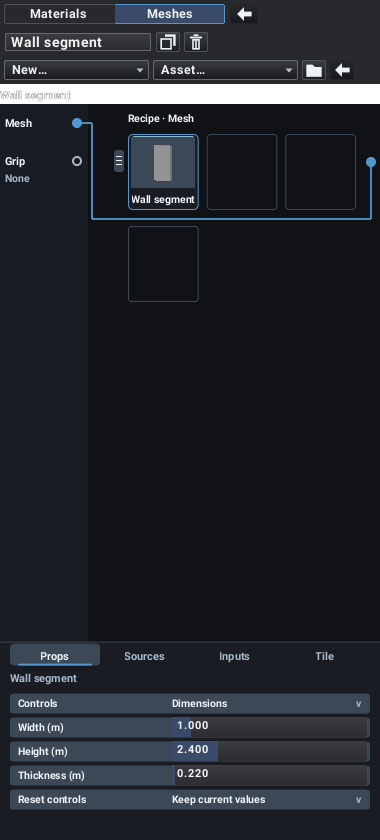
The recipe is shared by its placements. Editing Workshop wall changes all copies of that asset. Use a separate recipe copy when one wall needs independent dimensions. Footprints follow edits when Follow recipe shape is enabled; disabled footprints retain their manually authored layout.
Open the construction
Open the Group to inspect its internal rows. The wall contains:
| Construction | Purpose |
|---|---|
| PBR Material | An inline palette-based stone surface |
| Box | Width, height and thickness of the wall |
| Material assignment | Applies the surface to the solid |
| Transform | Raises the centered box so its base is on Y=0 |
| Assemble | Produces the final part |
| Connector operations | Describe join positions without adding visible geometry |
A Box is centered on its origin. A wall of height h needs a translation of h / 2 along Y to sit on the ground. That translation must change with height. The published height control handles both inputs.
Rows run top to bottom; operations run left to right. A Row operation reuses an earlier row. Assemble combines several earlier mesh rows. Repeat creates multiple static copies with a translation and rotation step per copy.
When a published control binds an input, its value overrides that input on an evaluation copy. Changing the construction's literal default may therefore have no visible effect while the published binding is active. Edit the published control or its binding instead.
Inspect the material
A wall may use inline PBR Material or a Material Texture referencing a project material. For inline material, edit its palette color and surface values in the recipe. For a project material, open that linked material from the mesh editor or find it in the Tile Picker.
Changing the project material updates all meshes that use it. Creating a recipe copy does not automatically copy every shared material dependency.
Make a useful variation
Create Repeated posts in the browser. Change count and spacing. Inspect its Repeat operation and the footprint attached before it. Repeat copies the post geometry, material and footprint together. This is a good starting point for railings or an open fence.
Create Doorway next. Its lintel spans the gap visually, but its ground footprint contains only the jambs. Walk through the opening in the test project to check the distinction between visible geometry and collision.
Continue with publishing controls to make your own recipes equally convenient to use.