Working with Tiles
Importing Tilesets
Tiles are the basic building block of your Eldiron maps, a basic Ultima 4 style tileset is included in the starter project of Eldiron.
You can add more tilesets to your project by clicking the + button in the bottom of the project tree and select Add Tileset.
Tilesets are PNG images with grid based tiles of pixel art. After importing a tile set and applying the correct Grid Size you can select individual or multiple tiles (click and drag horizontally or vertically to select) and add them to the tile picker.
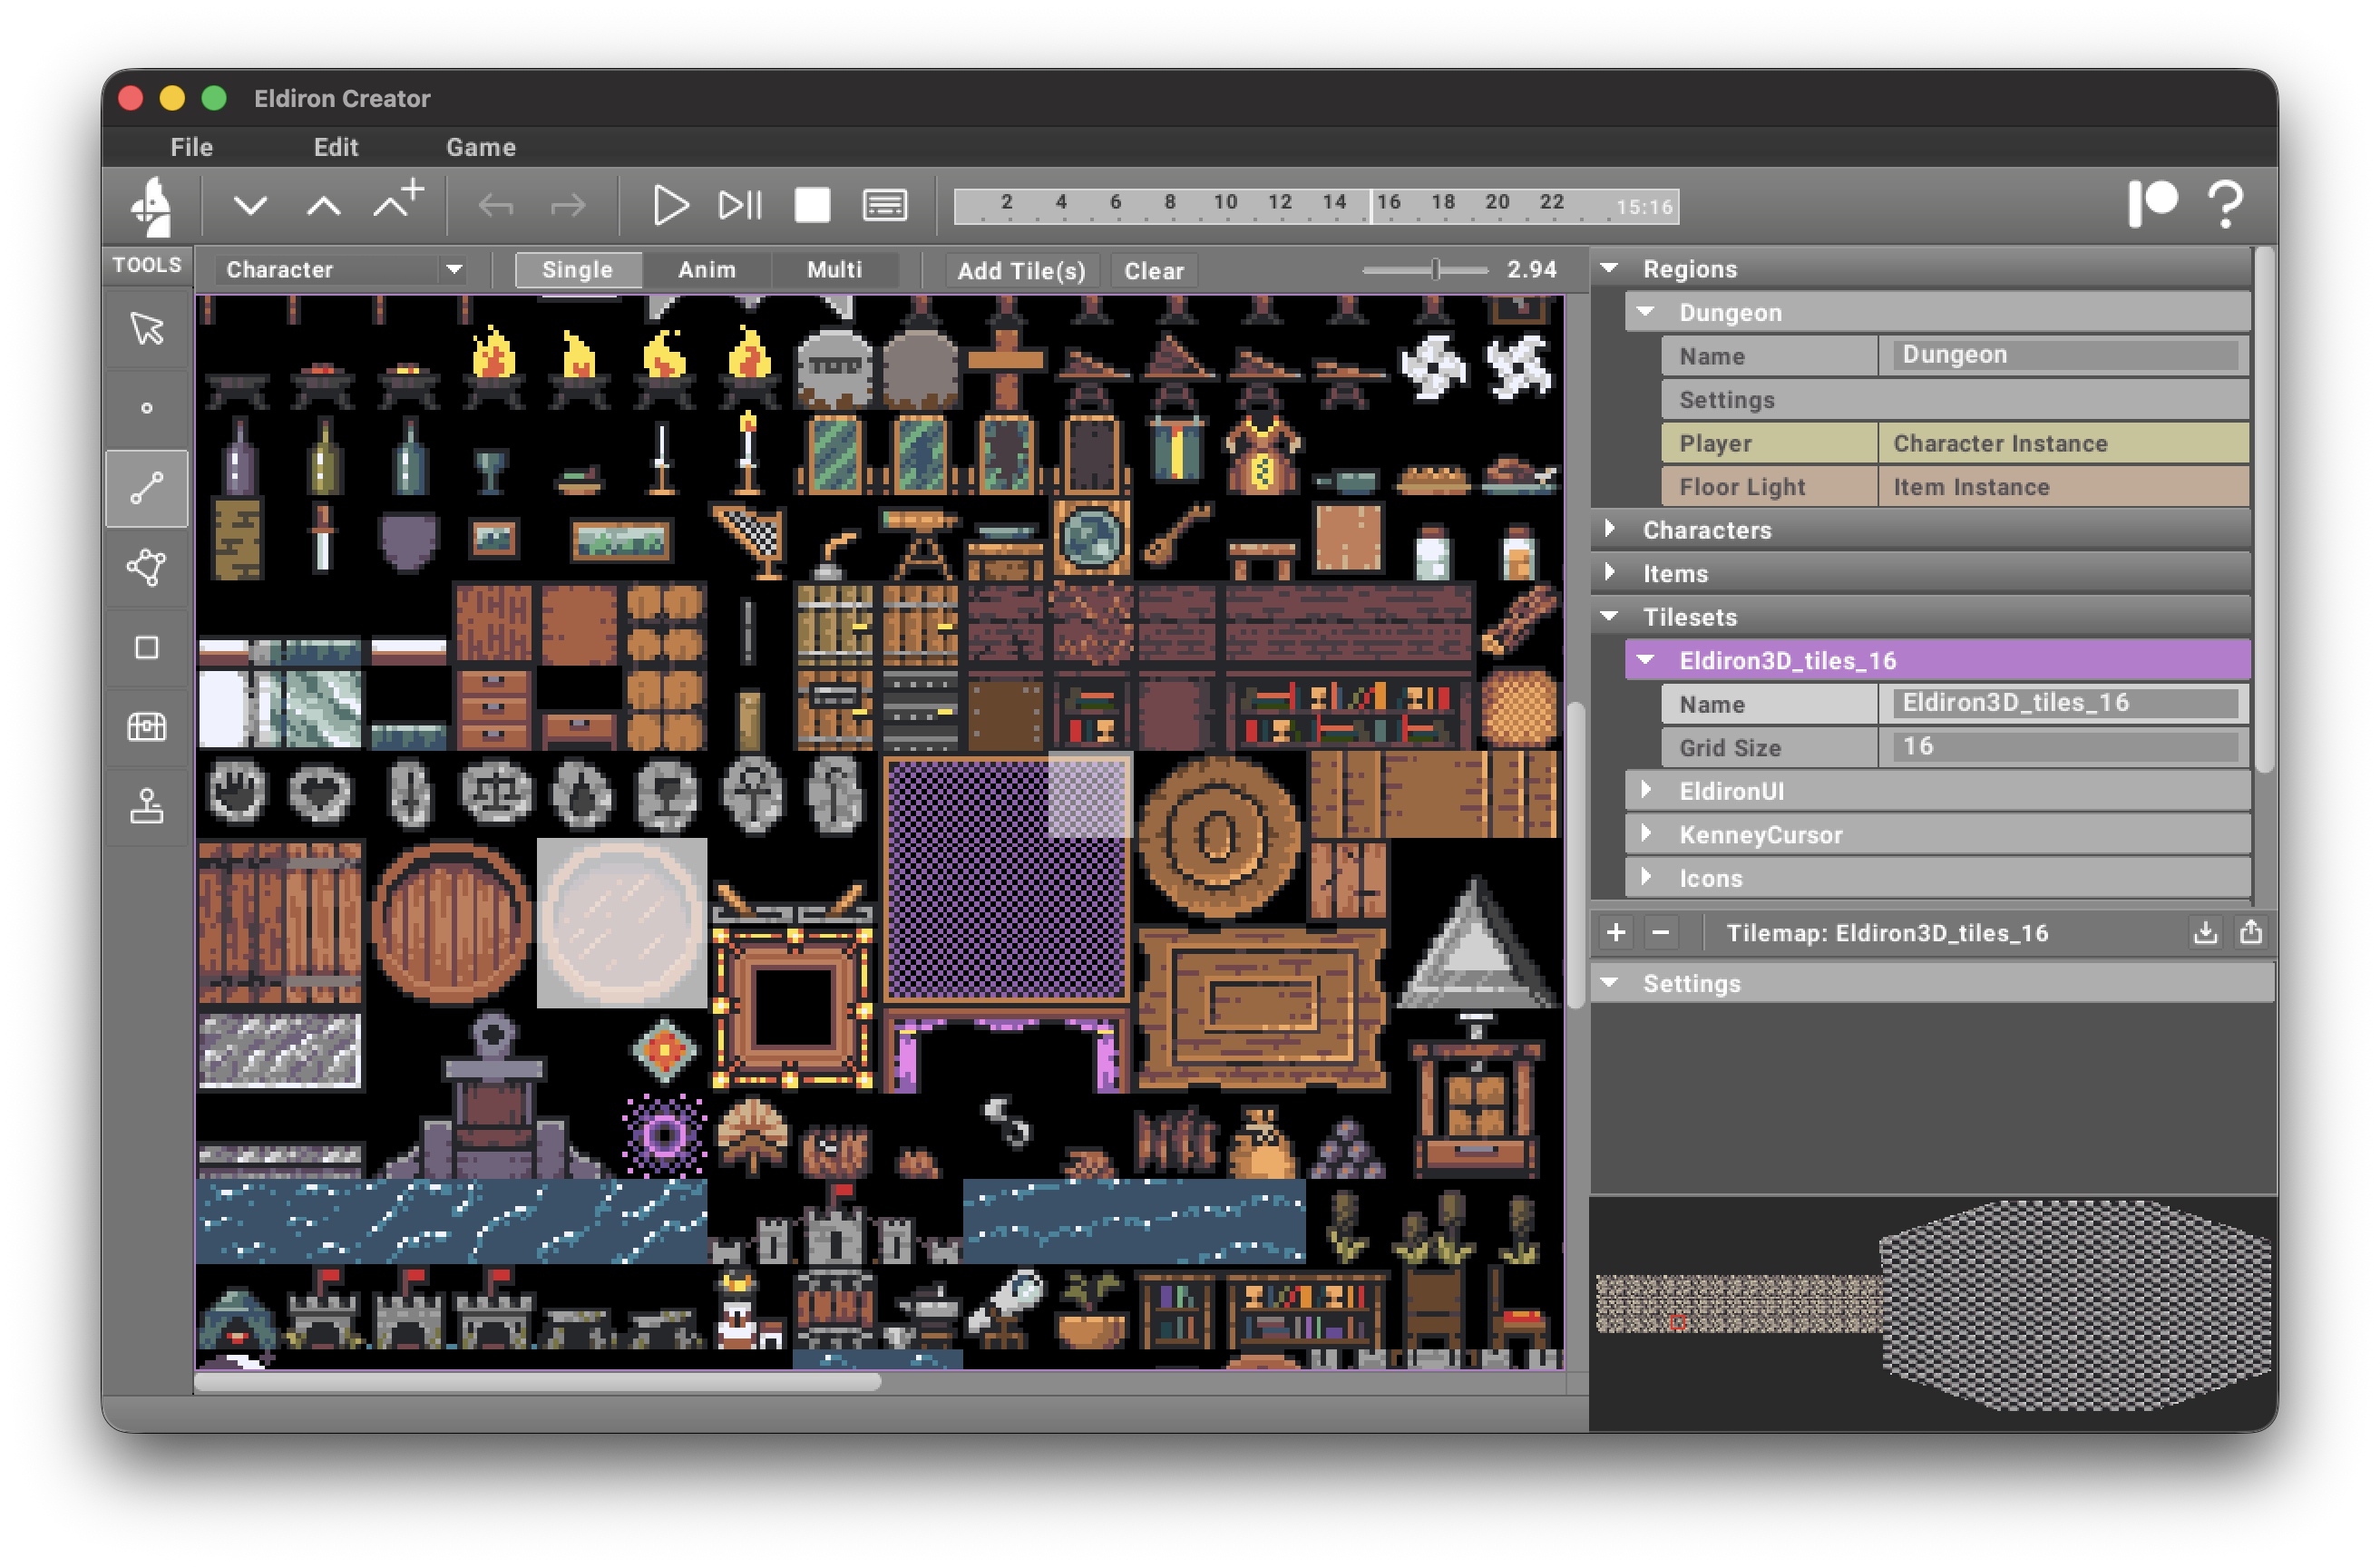
Before adding the tile(s) make sure you selected the role as needed (to be able to filter and sort tiles correctly) and you can select one of three import modes:
- Single. Add the selected tiles as individual tiles.
- Anim. Add the selected tiles as one animated tile.
- Multi. Add the selected tiles as one big tile, containing multiple tiles.
In the tile picker you can further edit tile sources and assign them to geometry. The dock toolbar contains Apply Tile and Clear Tile for assigning or removing tile sources on map geometry and action material slots.
Single tiles can also have a human-readable alias. Set it with Edit Tile Meta and then use that alias anywhere a tile_id-style source is accepted in TOML, actions, or set_tile(...).
Single tiles can also have high-level material metadata. Use Edit Tile Meta to assign a material preset and finish for tile sources. Art Palette colors carry their own material preset and finish in the Palette dock.
The tile picker can now contain:
- single tiles
- tile groups
- node groups
Added tiles are shown with a slight gray overlay in the tileset editor, making it easy to see which files you already added. You can delete a tileset any time, already added tiles will not be affected.
Once you added tiles they are visible in the tile picker and ready to use in 2D and 3D.
Using The Integrated Editors
In the tile picker you can use the New Tile or Duplicate Tile actions to create new tiles.
Selecting a tile and activating the Edit / Maximize action opens the integrated pixel tile editor.
Selecting a node group and maximizing opens the tile node graph editor instead.
Node graphs can also import other node graphs as reusable layers, which is useful for building modular materials such as stones with soil, moss, or grass overlays.
Drawing pixels uses the currently selected color in the Art Palette. Palette actions such as Clear Palette and Load Palette operate on the editable Art Palette, not the fixed Ruleset Palette.
Editing tiles auto-updates them on the map. Undo is supported for each tile individually.
See: