Overview
This chapter and its sub-sections describe the tools available in Eldiron Creator.
Map Tools Specifics
Some tools are specifically designed for map editing and display a common HUD. These include:
- Object Tool
- Vertex Tool
- Linedef / Edge Tool
- Sector / Face Tool
- Rect Tool
- Block Tool
- Builder Tool
- 3D Paint Tool
The tool strip also contains mode toggles below the main map tools:
- Authoring
- Text Play
- Palette Tool
Terminology
- Geometry Objects: Editable 3D objects made from vertices and faces (edited via the Object Tool).
- Vertices: Points that define the corners of 2D map geometry or 3D objects (edited via the Vertex Tool).
- Linedefs / Edges: Lines that connect vertices in 2D, edges on 3D objects, or face-local 3D surface lines for detail/cutout actions (edited via the Linedef / Edge Tool).
- Sectors: Areas enclosed by edges in 2D, or faces on 3D objects (edited via the Sector / Face Tool).
Navigation
You can navigate the map using:
- Trackpad: Swipe to move around.
- Arrow keys: Move the view in any direction.
- Mini-map: Click on the mini-map in the Region section to jump to a location.
- Mouse wheel / Trackpad + Ctrl (Mac: Command): Zoom in and out.
HUD Overview
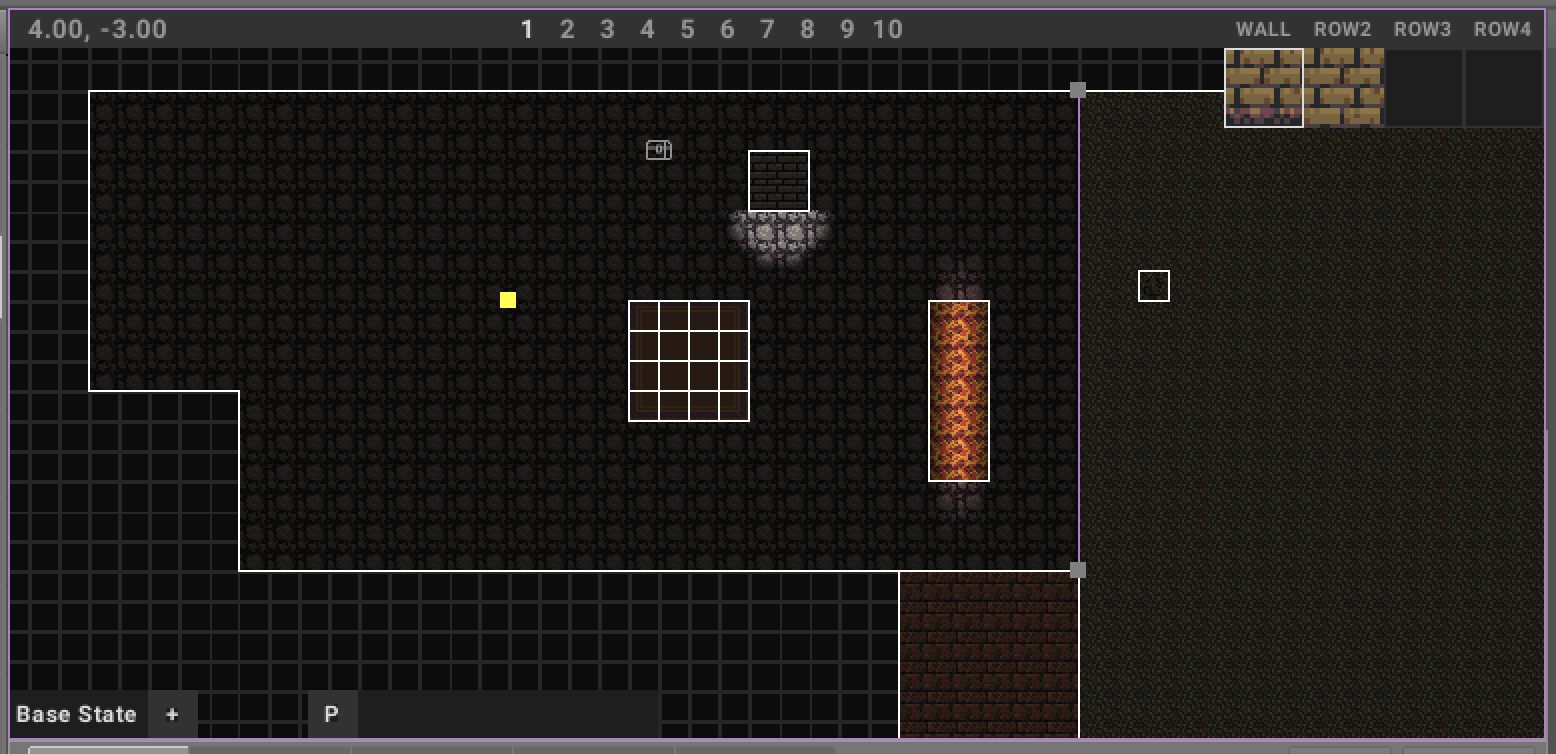
- The upper-left corner of the HUD shows the current map position. In 3D views it falls back to the selected geometry position when the cursor is not hovering geometry and displays enough decimal precision for the smallest grid snap steps.
- The numbers 1 ... 6 represent grid snap steps:
- 1 = one world unit
- 2 = half a world unit
- 3 = one quarter of a world unit
- 4 = one eighth of a world unit
- 5 = one sixteenth of a world unit
- 6 = one thirty-second of a world unit
- In 3D views, the HUD keeps these shortcut labels compact and shows the active snap step beside them. The , / . shortcuts step through the same snap subdivisions.
- Smaller snap steps help create detailed maps, while larger snap steps are useful for general layouts.
- In 3D Object mode, the HUD also contains
MOVE / SIZEcontrols for the active object gizmo.
Keyboard Shortcuts
When the map view has focus, you can use number keys (1-6) on your keyboard to quickly switch between grid snap steps, instead of clicking on the HUD.
In 3D geometry views you can also use:
O: Object ToolV: Vertex ToolE: Linedef / Edge ToolF: Sector / Face ToolB: Block ToolM: Move object gizmoS: Size object gizmo
These 3D tool shortcuts are resolved contextually, so in-tool commands such as vertex fill (F), edge-loop selection (L), object rotation (R), and tile application (T) keep working when their matching geometry is selected. Defaults can be changed from Game / Shortcuts.
The Game / Shortcuts document stores overrides by stable action id:
[shortcuts]
"tool.object" = "O"
"tool.vertex" = "V"
"tool.edge" = "E"
"tool.face" = "F"
For direct 3D geometry editing shortcuts, see Object Tool.
Tile Icons And Geometry Modes
The icons in the upper-right corner of the HUD are tool-specific and allow you to assign tiles to the selected geometry using the Apply and Remove buttons.
With the Palette Tool, the lower picker area shows the Palette dock instead:
- a fixed Ruleset Palette view
- an editable Art Palette board
- material and finish selectors for Art Palette entries
Apply ColorandClearactions for palette-based assignment
With the 3D Paint Tool, the lower picker area shows the 3D Paint dock instead:
- visual brush presets
- draw/erase/pick and Surface/No Clip controls
- Art Palette color slots
- material, finish, shape, and pattern settings for surface-space paint strokes
With the Block Tool, the lower picker area shows the Blocks dock instead:
- rendered 3D previews for block stamps
- Place / Replace / Erase operation controls
- Clean / Damaged stamping controls
- Line / Rect drag-stamping controls
- compact selected-block state and shortcut guidance
- practical stamps such as floor+wall, floor+corner, floor+doorway, stairs, ceilings, faceted columns, and solids
Direct 3D Geometry Editing
The direct 3D path uses editable geometry objects as the main construction model.
In 3D views:
- Object Tool selects whole 3D geometry objects.
- Vertex Tool selects object vertices.
- Linedef / Edge Tool selects object edges and draws face-local surface lines for ridges, grooves, and cutouts.
- Sector / Face Tool selects object faces.
This keeps the familiar 2D tool vocabulary while changing the 3D behavior to direct object, face, edge, and vertex editing.
Authoring Mode
The tool strip also contains an Authoring toggle. When enabled, contexts that would normally show the Tiles dock show the Authoring dock instead.
Authoring mode lets you enter TOML metadata for selected sectors, linedefs, entity instances, and item instances.
For the full workflow and metadata format, see Authoring.
Palette Mode
The Palette Tool is another bottom-row mode toggle. When enabled, contexts that would normally show the Tiles dock keep the Palette dock visible instead.
Palette mode is used for:
- editing Art Palette entries
- changing palette material and finish metadata
- applying palette-index sources to geometry
For the full workflow, see Palette Tool.
Block Building
The Block Tool builds 3D rooms, corridors, dungeon layouts, houses, and blockouts from modular editable Geometry Object stamps.
It uses a dedicated block grid in 3D views, supports click placement, line and rectangle drag stamping, whole-instance replace/erase, clean or damaged stamping, 90-degree rotation, stack levels, and component-aware height/width shortcuts. Floors ignore height changes, walls and posts can grow taller, columns stamp as faceted cylinder geometry, and widened doorways grow their opening instead of thickening the side posts.
For the full workflow, see Block Tool.
3D Paint Mode
The 3D Paint Tool paints persistent surface-space layers directly onto 3D region geometry. It is meant for organic detail such as moss, cracks, grass, dirt, puddles, generated brick patterns, stamps, and color-only touchups. The paint stays attached to its surface in isometric, orbit, and first-person views; it is not available in the 2D map view.
For the full workflow, see 3D Paint Tool.